Top tips for taking better photos on your smart phone
Jeanette Lendon went live on our Facebook page at the beginning of July to give our readers her top tips on using your smart phone to take social media worthy photos.
Shooting with a smartphone is very similar to shooting with a ‘proper’ camera. It’s important to stress, that a smartphone doesn’t replace professional photography; it is there to work alongside it. All of your images on social media sit side by side, and you have no idea which one your next customer is going to see. With that in mind, every shot needs to be the best you can get, and that includes the ones you put up from your phones.
Phone capability has changed so much in such a short period of time. We used to have a phone that took photos; we now have a camera that makes phone calls. Every phone is now sold based on their camera capability, and as long as you don’t want to zoom in to the top of a tree, the quality is amazing.
Know how your camera works
The first thing to do with regard your smartphone camera is to get to know how it works. This will take you approximately 3 minutes. Firstly, turn the grid lines on. (Google how to do this for your particular make/model). This will ensure you not only have straight lines, but also can apply the Rule of Thirds, where your main subject stays OUT of the middle square.
Learn how to change the exposure (light) on your phone - with the newer models, simply tapping on the screen is usually enough to make a difference, once you’ve tapped on the screen you should be able to swipe up and down to adjust. Next, look at where the light falls best in your chosen location. You want to try and avoid harsh sunlight and deep shadows. If this is inevitable due to the room layout, you may have to change the time you choose to photograph to get the best light. You may want to invest in a reflector to help light your subjects. I use a £20 reflector from Amazon in the 80cmx120cm size (for more info, click here).
Look at the whole picture
Before taking your photo, look at the whole picture. Can something be moved, do you have a handbag on the floor, or a discarded coffee cup? These are all things that are so easy to change, but a real pain to sort out afterwards.
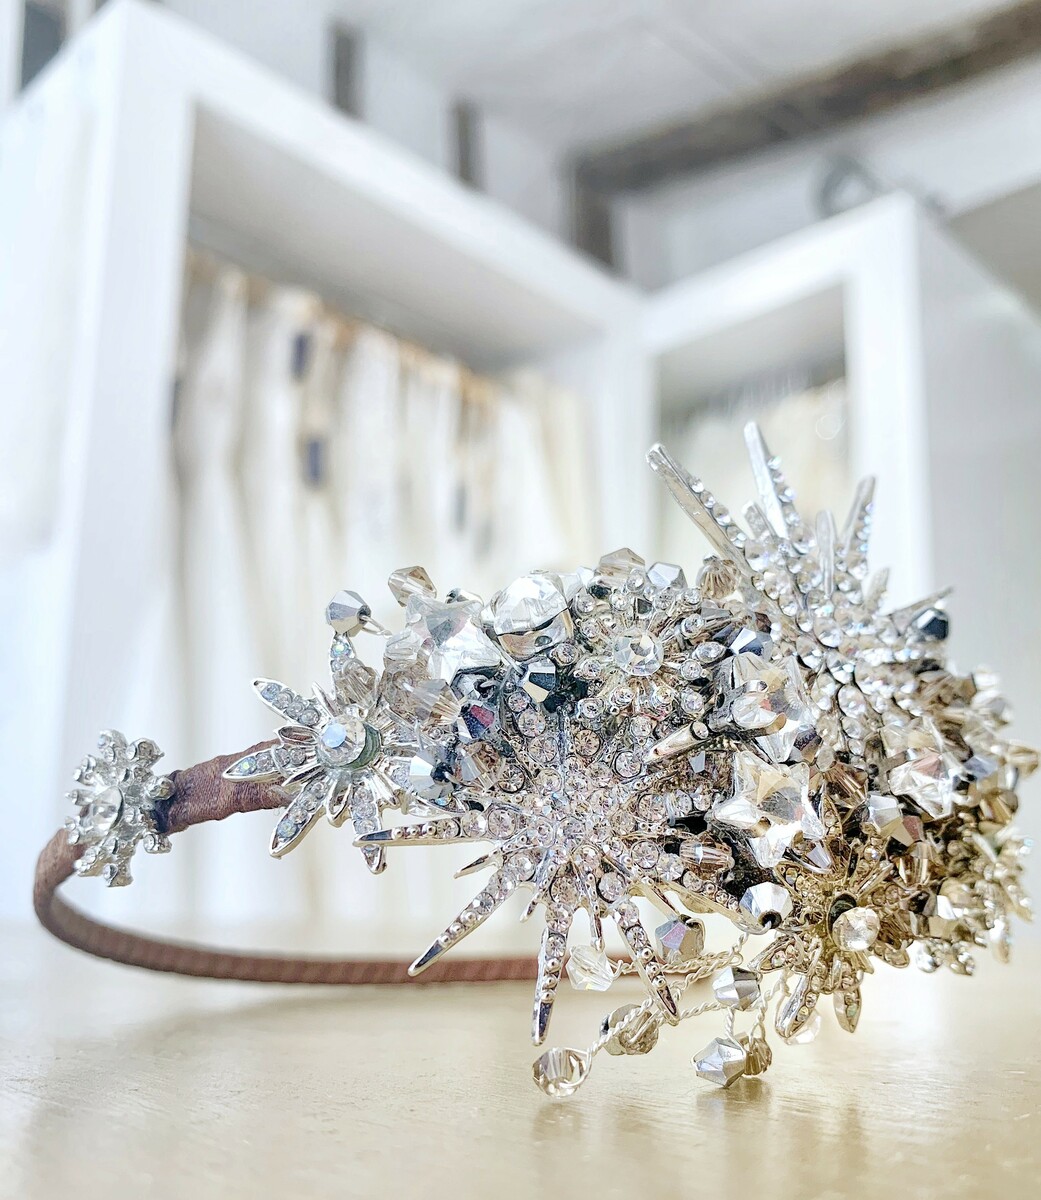
Shoot the details
This is what is going to get customers through the door. Your customer may have followed 3 different boutiques on Instagram, but it’s the little touches that are going to get the bride into yours. Take a photo of the glass of champagne on arrival, the accessories you sell alongside the dresses, your window display (maybe even do a time lapse video of it being created if it is a particularly elaborate one). Also introduce your staff with a photo and maybe a little fact about them. You want to come across as being approachable, friendly and human, and you can do all this using your smart phone.
Don’t stress too much, you are not a photographer
If you can’t get the shot you want on your smart phone, don’t worry, there are other options.
- Build up rapport with photographers to allow you to use official photos (via the bride/groom)
- Arrange ‘Just for Fun’ shoots (or blogging/styled shoots) and get everyone to collaborate.
Use video
I never thought I’d say this as a photographer but use video to talk through your collection. Either hold the dress up and talk through it or ask someone to model it while you point out the features. This can be so much more powerful than a photo and again can be done via your phone.
Flat lays
Taking stages pictures of accessories or branded gifts can be a nice change to your feed. One way to do this is with flat lays, where you place all items on a flat surface and take an image from above. Head to your nearest DIY store and a large selection of wallpaper/floor samples that fit with your brand. This is a great (and free) way to get different backgrounds for your flat lays. Remember that if you have a lot of objects in your shot, the ones furthest away from the middle will need to be ‘propped’ up with BluTak (or similar) so they are angled very slightly towards the middle. Make sure you review and crop afterwards to ensure you haven’t included anything in the shot that shouldn’t be.
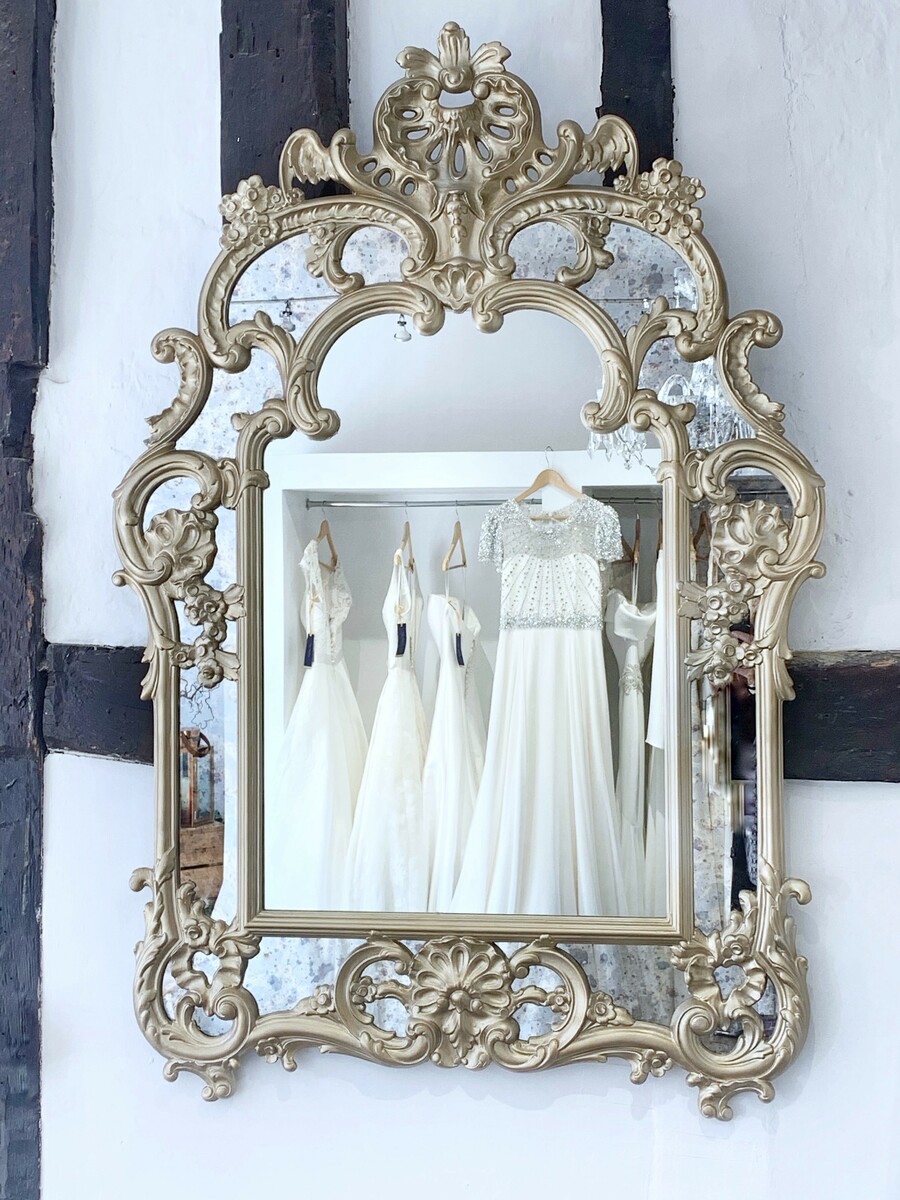
Angles
Look for the best angles. Do you need to stand on something to get a bit higher or crouch down to shoot lower? Maybe look at shooting level to show texture. Try turning your camera upside down (length ways) to get a different perspective too.
Edit, Edit, Edit
It’s so important to edit every photo before you upload it to your social media channels, this gives you the opportunity to change warmth, light and contrast. I use the editing app Snapseed, in my opinion it’s the most intuitive and easy to navigate around. It is also free - which is great.
Jet is currently running a special offer for Bridal Buyer readers. Use code BRIDALBUYER for 10% off any safari or editing masterclass package.
If you would like any help you can contact Jet via socials (@JetBlackSquares), or by email (jet@JetBlackSquares.com).


